One of the life skills my father taught me early was how to change a trailer tire. He thought this ability was a must-have for any kid who grew up on a farm, but especially for me, because he couldn’t always come along to all the horse shows and other activities I had planned.
I probably balked at the time, but now I’m glad he was persistent. In my 30 years of traveling with horses, I have had to perform an emergency tire change twice—and both times I was thankful I was prepared and knew how to do it. I sometimes travel alone, and in my rural area, cell phone coverage is not always readily available, so it might not be easy to simply call for help when I need it.
The best way to deal with a roadside emergency is to prevent it from happening in the first place. That’s why I am always vigilant about preventive maintenance and I inspect my trailer and tires before every trip. And even for the shortest of local trips, I always make sure I’m prepared to handle whatever mechanical troubles may arise. Here’s what I’ve learned over the years.
1. Make sure you have the right tires
I know, you’ve been buying tires for your cars and trucks all your adult life. But tires designed for trailers are significantly different. “Passenger tires need to have flexible sidewalls to insure optimum traction on the pavement,” says Tom Scheve, co-author of The Complete Guide to Buying, Maintaining, and Servicing a Horse Trailer. “Trailer tires don’t steer, swerve to avoid obstacles or transmit engine power to the road, so they are engineered and constructed with heavier duty materials than passenger tires. The stronger sidewalls of trailer tires flex less and hold up better to the trailer’s suspension system. Tire flexing could cause sway and blowouts on a trailer.”
In addition, says Rick Barnes, co-owner and manager of Barnes Tire and Service Center Pros, in southeast Tennessee, “trailer tires have a heavier load-bearing capacity, and many of your major brands will also carry an additive designed to prevent dry rot. Always make certain to purchase only those tires designated with an ‘ST’ for special trailer, rather than those designated with an ‘LT’ for light trucks.”
Trailer tires come with two con-struction options—radial and bias ply, which refers to the reinforcing belts within them.
Radial tires, which have been standard for cars and trucks for many years, have steel belts that run at a 90 degree angle to the tread. The belting, which lies under the treads, does not overlap onto the sidewalls, so the two parts of the tire can function independently.
Bias ply tires have nylon belts that run at 30 to 45 degree angles to the tread lines, overlapping each other and running up the sidewalls, forming a single sturdy structure. Because the sidewalls are stiffer, bias ply tires are stronger, but they do not flex as much, which can give passengers a rougher ride. The overlapping structure is also more prone to overheating.
“While there are advantages and disadvantages to both, I recommend that customers purchase radial tires for their trailers,” says Barnes. “Heat is one of the top culprits when it comes to blown tires. In my experience, radial tires run cooler and wear better than bias ply tires.”
Bias ply tires are less expensive, however. “If one’s budget is tight and the trailer is not being used very much or not taken long distances, the bias tires can be used,” says Scheve, who also owns Equispirit Trailer Company in Southern Pines, North Carolina. “Bias ply tires do have stiffer sidewalls and can carry heavier loads, but radials are vastly superior for tread wear and are also less prone to developing flat spots on one side when they are parked in the same position for weeks at a time.”You’ll also want to check your tire’s load index—the maximum weight it can handle safely. A trailer with horses is among the heaviest loads most nonprofessional drivers will handle. First you’ll want to find your trailer’s GVWR (gross vehicle weight rating; check the information on the sticker on the trailer), which is the total weight the trailer can reach and still be safe as determined by the manufacturer. Check your tires’ load rating to make sure they can carry that weight.
“The load rating will be printed on the tire wall,” says Barnes. “Add the load rating of each tire. It should be equal to or greater than the gross weight of your fully loaded vehicle.” For example, if your trailer weights 7,000 pounds when fully loaded, and it has a double axle with a total of four tires, you need each tire to support at least 1,750 pounds.
A little more tire capacity may give you some leeway for heavier loads, but don’t go too far over. “Buying an overrated, larger tire does not increase your safety,” says Scheve. “It will just give your horses a stiffer, uncomfortable ride.”
2. Replace your tires regularly
Age is a more important factor than mileage in determining when to replace trailer tires. Rubber, plastics, glues and other components of a tire will dry out and deteriorate over time. The structure can become brittle and start to crack—a condition called dry rot. Heat and the stresses of the road may cause a tire with dry rot to explode.
Most of us are used to replacing the tires on our cars and trucks when the treads are worn down, long before dry rot has a chance to set in. And, of course, if you frequently travel long miles with your trailer, you’ll need to keep an eye on the treads, too, along with mileage. “There is a consensus to replace trailer radial tires after 25,000 miles, which most horse owners would not reach,” says Scheve. “If you are using your trailer every day, it might be a good idea to keep a log since there are no mileage indicators on trailers.”
For most trailers that are used less often, however, dry rot may become a concern while the treads still look good. Examine the tire closely to look for evidence of dry rot—the surface will feel hard and dry, and you may see tiny cracks running in the sidewalls. But even if your tires show little sign of wear, keep in mind that they “break down due to moisture and chemicals from the inside out,” says Barnes. “Just because a tire does not appear to need to be replaced does not mean that it shouldn’t be.”
The specific age at which tires need to be replaced will vary, depending on the manufacturer’s recommendations and other factors, including your local climate and how the trailer is stored. “When purchasing your tires, ask the dealer about the recommended date to replace them,” says Barnes. “Some manufacturers recommend six years from the date of purchase while others recommend six years from the date of manufacture.” The National Highway Traffic Safety Administration (NHTSA) recommends replacing tires every six to 10 years.
You’ll find the week and year your tire was manufactured printed on the sidewall. (The printed side may be facing toward the inside.) Look for a string of letters and numbers after “DOT”: The last four digits are the week and year of manufacture. So a DOT number that ends in “3215” indicates the tire was made the 32nd week (August) of 2015. “Of course, if a tire appears to be dry rotted before the six-year mark it should automatically be replaced,” Barnes says.
Scheve also recommends checking the ages of the new tires you are buying. “Trailer tires are not purchased on the same scale as passenger tires so they could have been stored on a distributor’s shelf for quite some time and deteriorating the same as if they were on your trailer,” he says. “My daughter recently went to buy new tires and noticed that they were already two years old. Ask the tire dealer to show you the build date before you purchase.”
Don’t forget to replace your spare tire, too. If any of your tires are showing signs of age, it’s probably best to replace all of them at once, for several reasons. For one, chances are good that all of the tires on your trailer are about the same age—and age rather than mileage tells you when replacement is needed. Also, you want all of the tires to match. A tire with brand-new tread will be slightly larger than one that is already somewhat worn down. And tires made by different manufacturers can vary slightly in size, which will cause uneven wear and a rough ride.
3. Check tire pressure before each trip
Having the correct air pressure inside all of your tires (including your spare) is critical to a safe, comfortable drive. If it’s too high, the tire will stretch outward like an overfilled balloon, and less of the tread will have contact with the ground. This gives you less traction, with longer stopping distances, and causes a rough, bouncy ride. Too low, and the sidewalls will buckle and flex, which can cause it to overheat and blow. Low tire pressure can also reduce your fuel efficiency and shorten the life of the tire. Finally, all of the tire pressures need to be equal; if one is too low, the others will be overloaded, which increases the risk of blowout.
“I recommend that my customers run their tires at the maximum pressure indicated by the manufacturer on the sidewall of the tire,” says Barnes. “Trailer tires carry significant weight, and by running them at the maximum pressure you help the tire to run cooler.” The number will most likely be expressed as pounds per square inch (psi). You may also see “kPa,” which is kilopascals, a metric measurement used internationally.
Use a gauge to get an accurate reading of your tire pressure; just looking at them may not help. “Rubber torsion, which is on most all new trailers, is an independent suspension,” says Scheve. “Since the suspension will keep the adjacent tire from collapsing on itself, you will not be able to tell if it’s underinflated by looking at it—it will look normal. So be sure to check the tire pressure when you leave and return to the barn.”
The NHTSA recommends filling tires to the specified psi while they are cold—that is, when the vehicle has been idle for at least three hours. The pressure will increase after the trailer has been traveling. If you discover that one of your tires has low pressure after you’ve been driving, the NHTSA suggests filling it to the recommended level for cold inflation pressure. While at that level the warm tire may still be a little under its ideal pressure, it will be safer than towing with a significantly underinflated tire. Still, you’ll want to investigate the problem promptly.
All tires will lose air gradually over time, but if one suddenly runs significantly lower than the others, it may have a slow leak. Use your judgment before proceeding with your trip. If you have only a short distance to get home, you might just top it up, then deal with the tire once your horses are safely back in their pasture. If, however, you’re embarking on a long drive into a remote area, you might want to replace the tire before you go.
4. Protect tires when not in use
Exposure to the elements— including sunlight, ozone, heat and wetness—can accelerate dry rot. Ideally, you would park your trailer in a climate-controlled barn or garage when it’s not in use. If that’s not an option, consider taking other measures to protect your tires.
Parking in a dry, shaded area is best. Tire covers, available in both single and tandem styles, are relatively inexpensive and can help keep the sunlight off of your wheels while the trailer is parked. For longer term storage, consider using a cover for the entire trailer, which will also cover the wheels.
You want to avoid low-lying areas, where puddles will accumulate around the wheels. If moving your trailer to higher ground isn’t practical, consider installing a gravel or paved parking pad that will keep your tires drier.
It’s also a good idea to clean off any dirt or grime before leaving the trailer tires parked in storage. Simply spraying them down with a high-pressure hose will remove the worst mud. You’ll also find a number of sprays, polishes and other products that offer to clean tires and help protect them against damage due to exposure to the elements while also enhancing surface shine. Consumer Reports contacted three major tire manufacturers, Bridgestone, Continental and Michelin, to ask about their policies regarding the use of these products:
“The clear consensus was that today’s car tires are formulated to resist the harmful effect of UV light and ozone,” according to an online Consumer Reports article from 2016. “Continental did not recommend use of lubricants or chemicals to the tire, and Michelin said tires should be cleaned with soap and water. Bridgestone said their tires have antioxidants and waxes in the tire to protect them from the environment. A dull appearance may occur over time, but this is just the waxes migrating to the surface and actually helps protect the tire. This is where some owners might want to spruce up the tire’s dull appearance, though [they] could unintentionally remove the barrier that protects the tire in the first place. Aftermarket protectants may shield a tire from harmful elements, but if they are not used routinely, they could leave the tire exposed.”
Check with your manufacturer for further recommendations regarding the long-term care of your tires.
For all the places you may travel with your horse—trails, shows, clinics, lessons, the veterinary clinic—you want to trust that all of your passengers are riding safely. And just a little time spent maintaining your tires and preparing for emergencies can help ease the worry that a flat will ruin your day.
SIDEBARS
In case of emergency
Despite your best efforts, a blown tire can still occur for reasons beyond your control. When that happens, you’ll want to have on hand the tools needed to fix or change the tire as quickly as possible so you can be on your way:
• a jack or ramp that can safely support the weight of your loaded trailer. “I favor a 10-ton bottle jack over other jacking or raising options,” says Rick Barnes, of Barnes Tire and Service Center Pros. “Some of the other jacking options are not equipped to handle the weight of a loaded trailer.”
A ramp, such as a Trailer-Aid, works well for tandem axle trailers. You simply back or pull the good tire up onto the ramp, which leaves the flat suspended so it can be changed.
“This is a very simple way to lift a flat tire off the ground without having to insert a jack and crank the trailer up,” says Tom Scheve of Equispirit Trailers. They are available for both rubber torsion and leaf spring axles and will support a weight up to 15,000 pounds.
Whatever tool you choose, make sure it is rated to handle the weight of your loaded trailer, and test it at home—with and without your horses on board—to make sure it will work for you.
• spray-on lubricant such as WD-40
• wheel chocks to secure the opposite wheels
• a lug wrench
• liquid tire sealant
• a tire gauge
• a portable air compressor that can be plugged into your tow vehicle’s DC adaptor.
• a powerful flashlight or an LED lamp that can be plugged into your tow vehicle’s power
• orange cones, triangles, flares or other emergency markers for visibility. A reflective vest is also a good idea.
If you do not have the upper body strength to operate a standard lug wrench, consider adding a breaker bar for extra leverage or a battery-powered impact wrench to help you remove the lug nuts. You may also want to include a change of clothes (or a coverall), an old towel or something similar to kneel on as you work, and sturdy gloves.
Finally, for greater peace of mind, many horse owners sign onto services that offer roadside assistance for trailers. For example, USRider offers motor plans specially designed for equestrians, and other services are available that offer aid to anyone with a trailer.
Level up!
With double-axle trailers, it’s important to run with the trailer as level as possible in order to distribute weight evenly over all four tires. “The axles need to work together,” says Tom Scheve, co-author of The Complete Guide to Buying, Maintaining, and Servicing a Horse Trailer. “If you start to lift up or drop down on one end, you are going to overweight one axle, and especially the tires.” The added pressure will cause heat and increase the risk of a blowout.
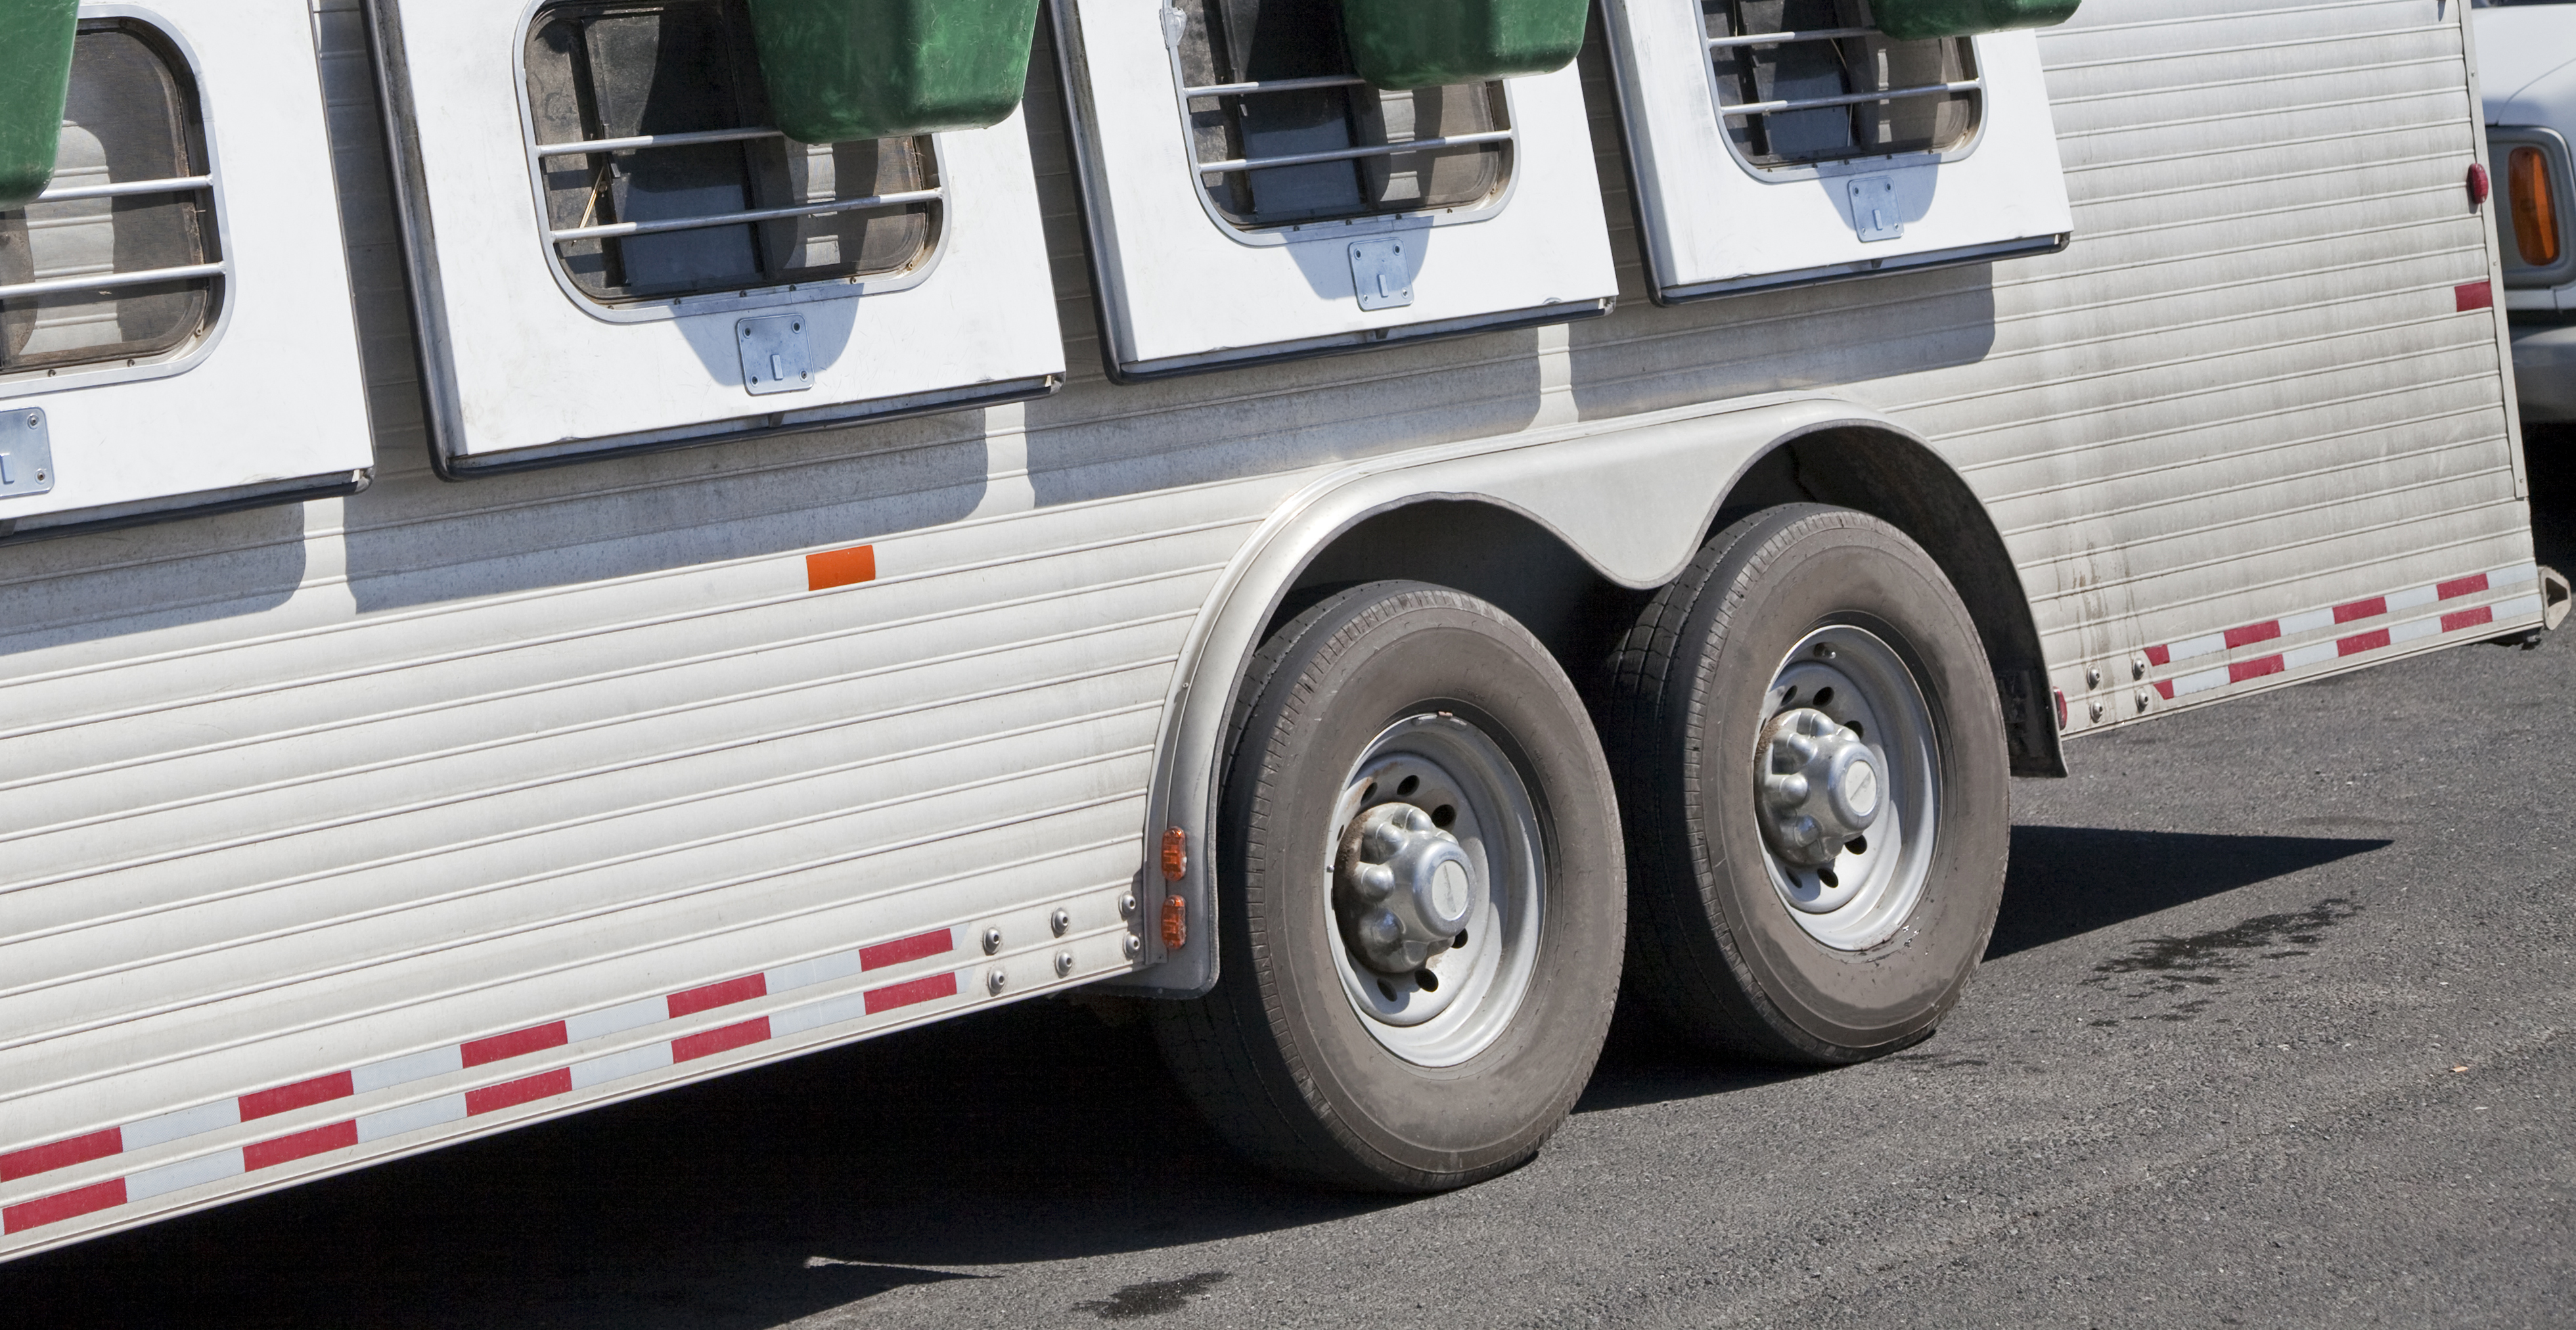
To check, first top up the tires to the recommend psi, and park your loaded rig on flat, level pavement. Then, measure the distance from the frame of the trailer to the ground at both the front and rear. If the measurements are not nearly equal, then you may need to adjust the height of your hitch. Scheve also suggests standing back and looking over the tires. “Make sure they are both flat at the bottom,” he says. “If one is rounder and one is flatter, then they are not evenly weighted.”
This article first appeared in the September 2017 issue of EQUUS (Volume #480)


